

# 密钥生成
# 生成密钥
使用 -t 选项指定生成的密钥类型
ssh-keygen -t rsa使用 -b 选项指定生成的密钥位数,如生成 4096 位的 RSA 密钥
ssh-keygen -t rsa -b 4096# 生成适用于 GitHub 的密钥
使用 -C 选项设置注释文字,如邮箱地址
ssh-keygen -C "Github 邮箱"# 将公钥添加到远程服务器
# 添加到远程服务器
- 查看公钥
cat ~/.ssh/id_rsa.pub- 登录到远程服务器
ssh username@example.com- 编辑
authorized_keys文件
nano ~/.ssh/authorized_keys-
将公钥粘贴到
authorized_keys,确保一个公钥占用一行 -
设置
authorized_keys的权限
chmod 600 ~/.ssh/authorized_keys# 添加到 GitHub
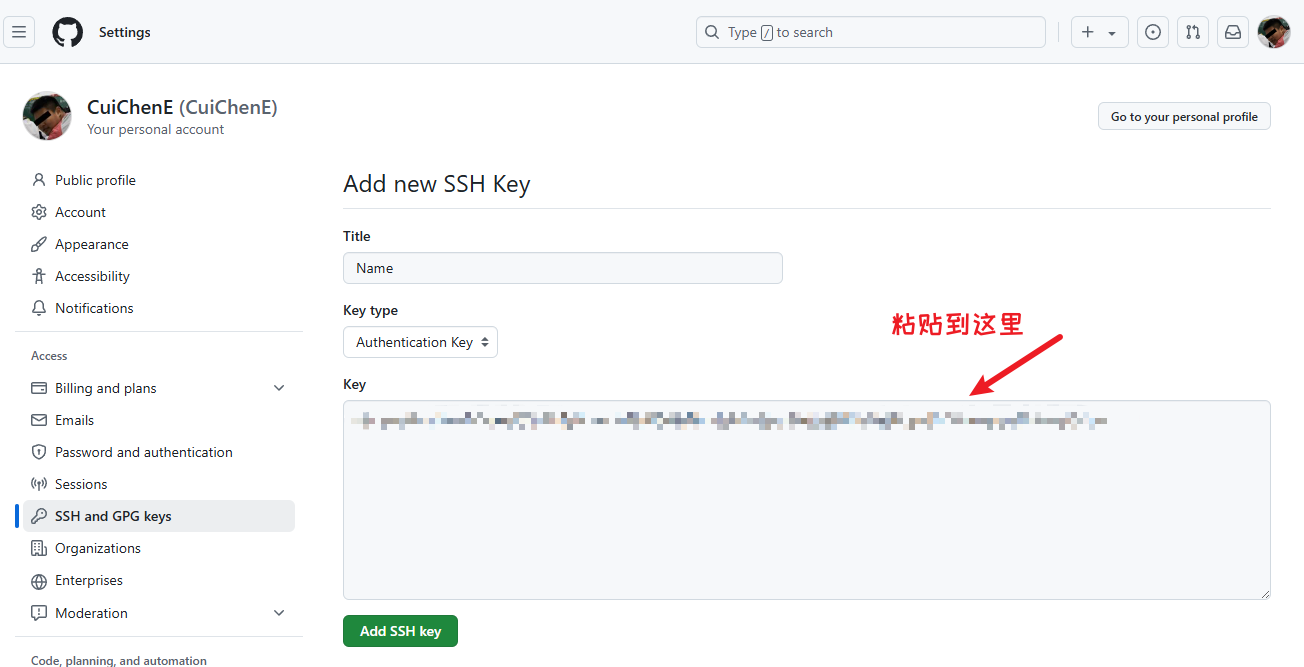
-
打开 Github,选择 Setting
-
选择
SSH and GTPG keys -
点击 New SSH key
-
在
key中输入刚才获取的公钥即可
# 在 SSH 中指定私钥文件
从命令行指定 SSH 中的私钥文件,只需在 ssh 命令中使用 -i 选项即可。
ssh -i ~/.ssh/id_rsa username@example.com如果本地存储了多个密钥时,每次使用 ssh -i 会变得相当麻烦,我们可以在 SSH 配置文件中声明每个 SSH 服务器使用哪个私钥。配置文件储存在 ~/.ssh/config 中。
nano ~/.ssh/configHost example.com
IdentityFile ~/.ssh/id_rsa_01
Host 192.168.1.1
IdentityFile ~/.ssh/id_rsa_02配置后我们就可以直接使用 ssh 命令访问目标服务器了